NOTE: We are no longer adding new features to Set List Maker. We recommend our newer product, BandHelper, for the latest design and functionality.
Getting started
Start using the app by creating a database and entering your own songs; then create a show and add your songs to it. You can watch a tutorial video, or read on for more details:
- When you launch Set List Maker for the first time, all you'll see is
a sample database. You can explore this to see how the
app data is organized. Remember that the upper-left corner
always contains a button that takes you back to the previous
menu.

- If you go all the way back to the Databases list, you can tap the +
button in the upper-right corner to add your own database.

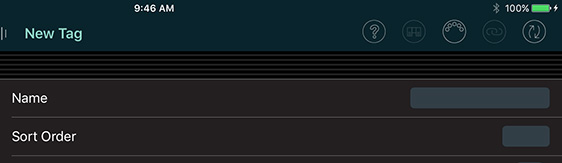
- Tap your new database, then tap Settings, then Tags. Then tap the
+ button in the upper-right corner to add a new tag of your own.
You can come back and edit this list at any time. For now, go back to your database menu; your tag will be automatically saved when you leave this page.
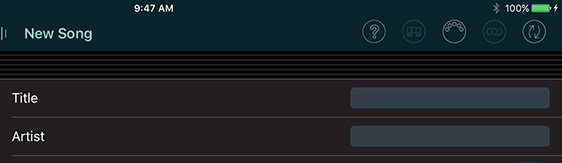
- In your database menu, tap Songs. Then tap the + button in
the upper-right corner to add your own songs. You only
need to enter a title; all the other fields are optional. When you're done
entering your song data, you can tap + to add another song, or go back to your database menu; in either case, your song data will be automatically saved.
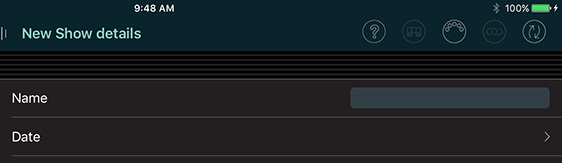
- After you've added a few songs, go back to your database menu and tap
Shows. Then tap the + button in the upper-right corner
to add your first show. Tap Edit Details and you'll see some details about the show. You only need to enter a
name; all the other fields are optional.
- Look at the left column on a tablet, or tap the back button on a phone, then tap Edit Songs. You'll see a list of songs currently added to this
show, which will be empty the first time you view it.

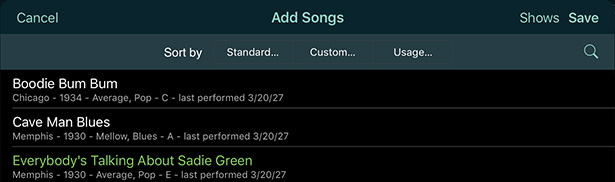
- To add songs, tap the Add Songs button. Now you'll
see a list of all the songs in your database. You can
tap the buttons at the top of the window to sort them
in different ways. Then tap the songs you want to add
to your show; a checkbox will appear next to each song
you've selected. When you're done selecting songs, tap
Save.
- Your selected songs will appear in the Edit Songs list. Now that you've
added songs to your show, you can set their sequence
by dragging the "grip" area to the
right of each song. When you're
done sequencing your songs, tap the back button at the top right corner of the screen.
- You can tap the Edit Details or Edit Songs buttons for the show any time in the future to update your show details or adjust the songs in your show.
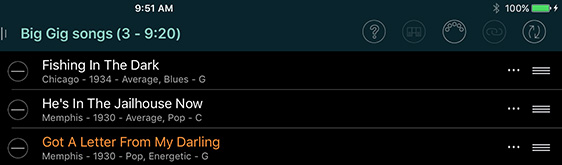
- To view your show, look at the left column on a tablet or tap the back button on a phone, then select a layout from the list. Each layout offers a different way to view your set list and/or song details, for different performance or rehearsal situations. You can also create your own layout to display the information that's most important to you:
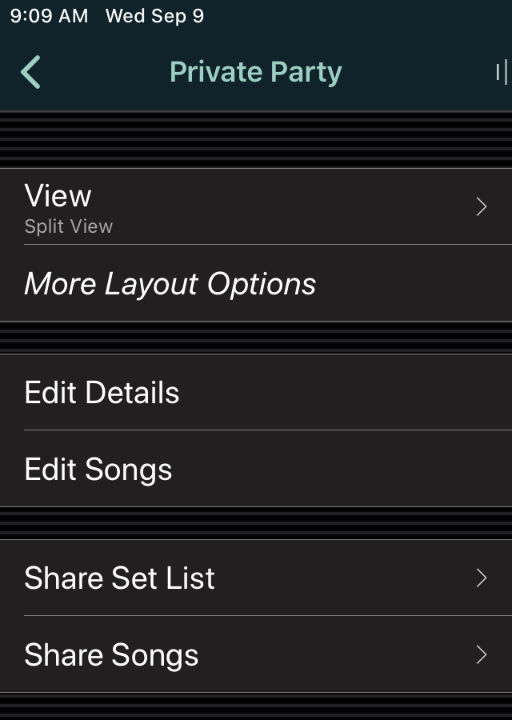
- If you want to share your set list with someone who doesn't have Set List Maker, or just print a hard copy to use on stage, look in the left column on a tablet or tap the back button on a phone, and tap the Share button. This shows a list of display options for your set list, and buttons for several output options:

- You'll probably want to add a lot more songs now. You can continue adding them manually as shown above, or look at the options for importing data.
- For more options with set lists, you can watch a tutorial video.
- For in-app help, you can long-click any title on the settings pages, or any toolbar button. To see where in-app help is available, you can click Help > Show Hint Icons, but the in-app help is available whether the hint icons are shown or hidden.


